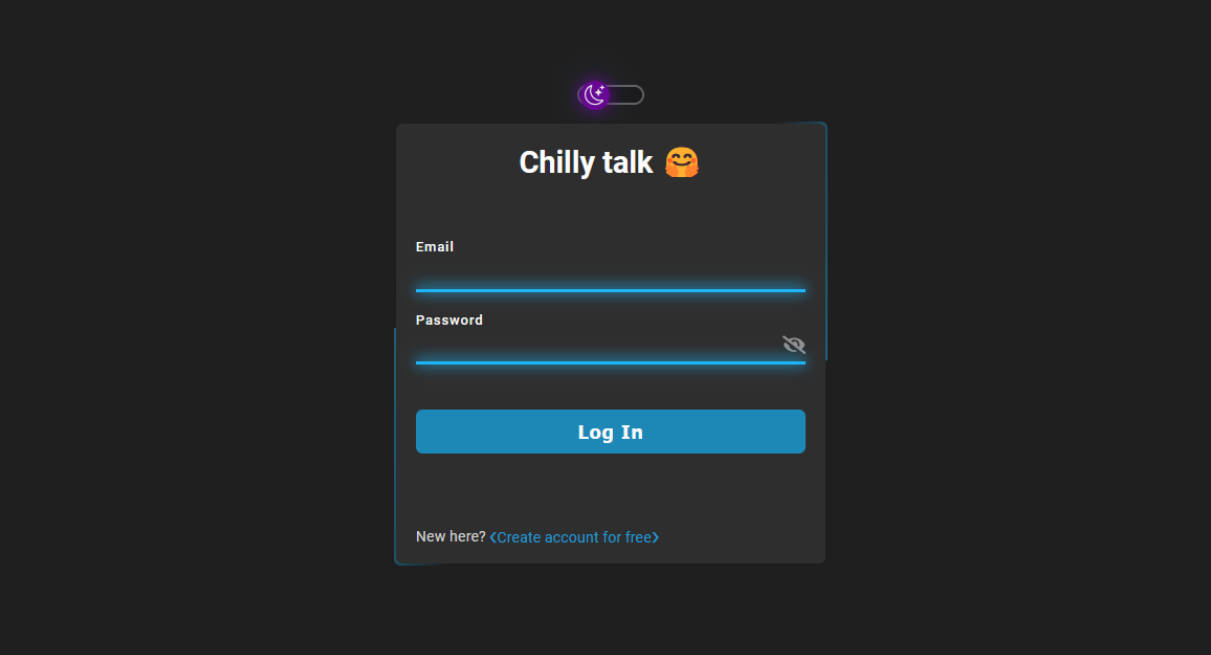
Chilly talk 🤗
Chat app / room
Realtime chat app for chilly talking, made for learning basics of full-stack 📖
📜 Table of Contents
About The Project


I have decided to improve my coding skills to strengthen my fundamentals of front-end, react and styling also with exploring new trails and oh me it was great and horrible idea at same time. So I have decided to get into back-end development.. at least to understand basics. Finally I have decided to build real time chat application which will work like for example Messenger or Telegram.
This idea allowed me to obtain a huge amount of new knowledge and to spend many hours inside of docs.
Project allows the end User to register account, login, send messages, edit them and delete. Additionally allows user to style chat window uniquely for every logged in user.
:toolbox: Technologies
:running: Getting Started
To get a local copy up and running follow these simple steps.
:raised_hand: Prerequisites
Necessary tools
Please at first follow these steps to install necessary tools. If you have already installed npm, Node and created free MongoDB account with initializing and configuring MongoDB database skip this step and jump to Installation.
- Install latest stable version of
nodefrom Official Site . It should also install the latest version ofnpmpackage manager. - Verify versionos of installed
Nodeandpackage manager.
   node -v
   npm -v
Example output: ```sh { .no-copy } v18.12.1 9.1.2
3. If npm isn't installed, try to install it manually using the following command inside terminal:
sh npm install -g npm
4. Create free `MongoDB` account here.
5. Initialize database and save `connection URI string` for later, for example:
mongodb://myDBReader:D1fficultP%40ssw0rd@mongodb0.example.com:27017/?authSource=admin (it's just an example of connection string)
6. Configure access and network connection restrictions to database.


### :mage_man: Installation


   Step by step

#### Server:

1. Clone repository.
sh git clone https://github.com/Arrugonoto/chat_app.git
2. Inside of project main directory navigate to `server folder`.
sh cd server/
3. Inside of a server directory create `.env` file
4. Configure .env file with necessary data:
.env NODEENV=production // node development environment, currently set as production PORT=5000 // port on which server will be running MONGOURI=mongodb://myDBReader:D1fficultP%40ssw0rd@mongodb0.example.com:27017/?authSource=admin // example connection URI string SECRET=secretkeyexample
   :warning: Remember! Never upload .env file to repository because it contains important configuration data and exposes them to be exploited.
5. After finished configuration install necessary packages.
sh npm i
6. Run server.
sh npm run dev
#### Client:

Open another command line/terminal.

1. Inside of main project directory navigate to client folder.
sh cd client
2. Inside of a client directory install NPM packages.
sh npm i
3. Wait for the installation to complete.
4. Run client
sh npm start ```
- Done! Have fun with testing!
:motorway: Roadmap
:shipit: Update:
- [x] Add login and register
- [x] Add message creation
- [x] Add message editing and deletion
- [x] Add menu
- [x] Add theme settings
- [x] Add jump to newest messages functionality
- [x] ~~Add momentum scrolling functionality~~
- [x] Add 'giving likes' functionality / implemented reaction functionality
- [x] Add profanity filter - by Michael Price
- [x] Build production
- [x] Host project
- [x] Add emoji picker - by Missive team
- [x] Add light/dark mode
Fix:
- [x] Message editing
- [x] Custom color selector for theme
- [x] Theme font colors
- [x] Bugged display of longer message
- [x] Selecting emoji doesn't works
- [x] Reactions are added to wrong message
Demo status:
- [x] Updated to latest version
:placard: License
Distributed under the GPL3.0 License. See LICENSE file for more information.

